Trips & itineraries

A trip in OrientME is a full itinerary: the flights and hotels, a day-by-day plan, a wish-list of ideas, expenses, and the photos and memos you collect along the way. You’ll find your trips under Travel → Trips.
Create a trip
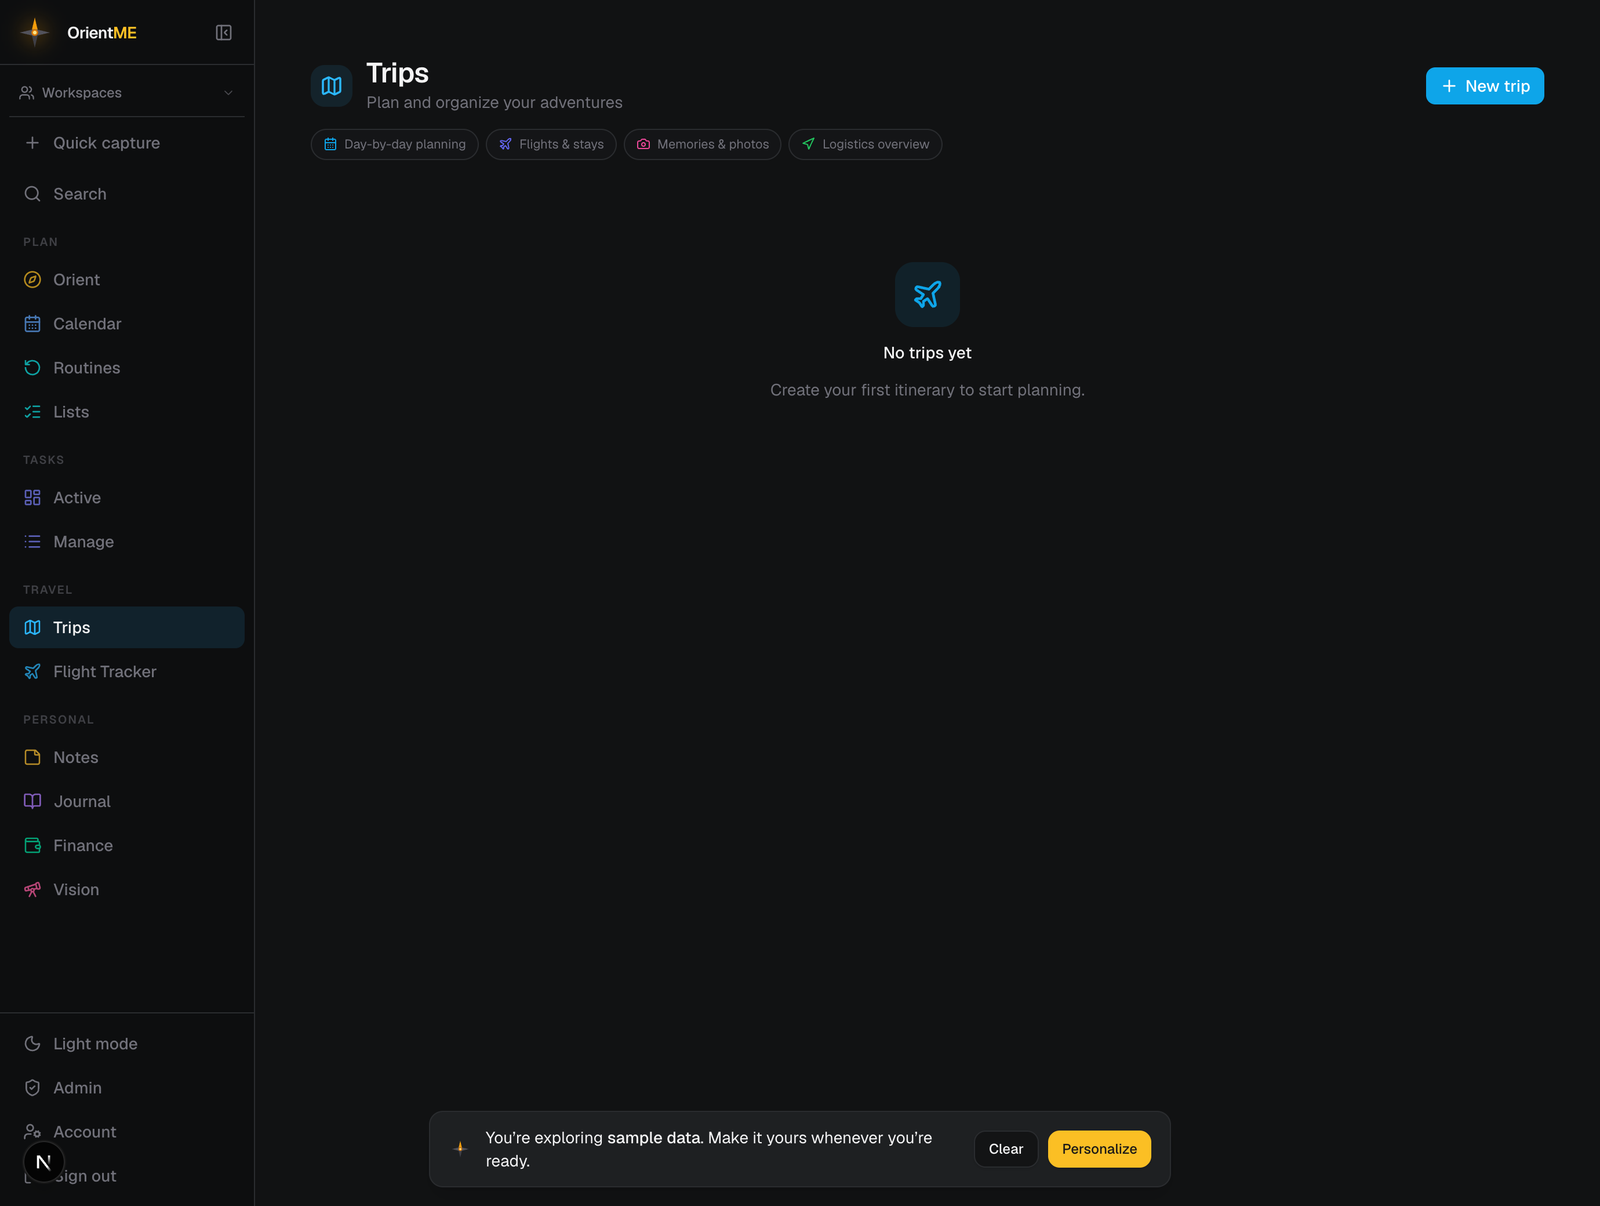
Click New trip, give it a name (for example “Spain 2026”), optionally add comma-separated destinations, and click Create. You land on the trip’s detail page, ready to fill in.
Start from a flight instead
Booked a flight but haven’t made a trip yet? Use Add flight (next to New trip on the trips list — labeled Flight on mobile — or on the Flight tracker’s Booked tab): enter the airline, flight number, and date, and OrientME looks up the schedule and creates a small trip for you, named after the destination city, with the flight already in place. If you already have a trip covering those dates, the flight is added to that trip instead. Either way it’s a full trip like any other — open it whenever you’re ready to add days, stays, ideas, or expenses.
Quicker still: choose Paste a confirmation inside the Add flight form and paste your booking email’s text — OrientME fills in the form for you, with the times taken straight from the confirmation, and a round-trip confirmation adds both flights in one go.
You can even skip the form entirely: forward the airline’s confirmation email to
trips@mail.orientme.app from your account’s email address, and the flight files itself the
same way — see Forward a flight
confirmation.
Business or personal
A trip can be tagged Business or Personal. The tag shows as a badge on your trips list, and a filter at the top of the list narrows to one kind — handy when work hops start to outnumber vacations. You only need to tag your work trips: the Personal filter treats untagged trips as personal. On a business trip, the Trip spending view on the Expenses tab is a quick way to gather what you spent for expensing: purchases made during the trip’s dates are matched automatically from your linked accounts.
Pick a trip icon
Every trip has an icon. Click it to open the picker, which offers 24 travel symbols plus the full list of country flags — searchable by country name, two-letter code, or a common alias. Type “USA”, “UK”, “Bali”, or “Dubai” and the matching flag appears.
The trip detail page
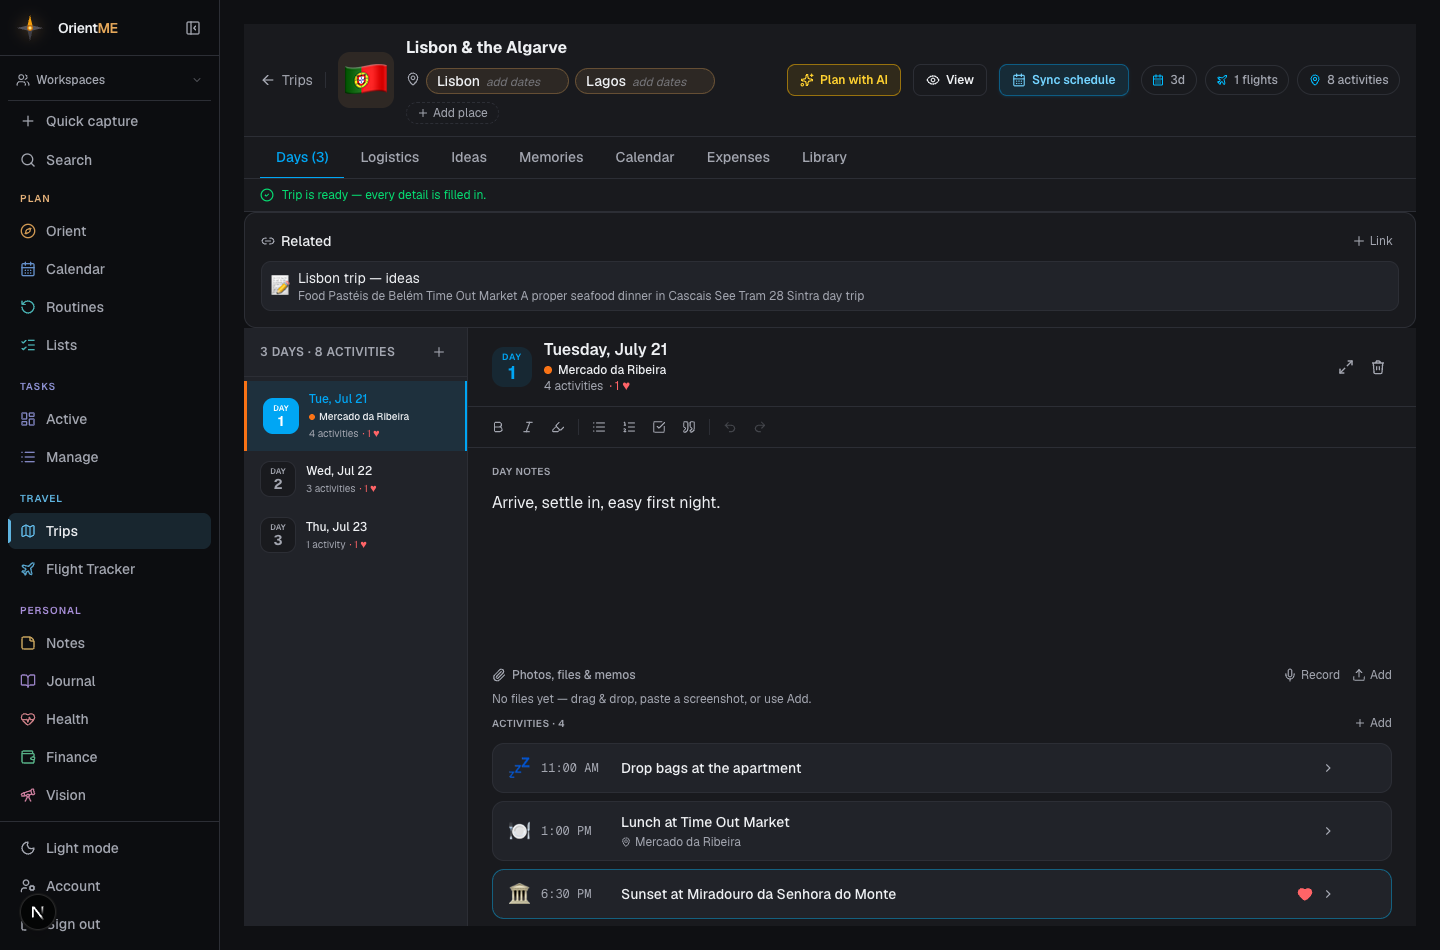
The header holds the trip’s icon, an editable title, destinations (each with its own dates), and the overall date range. To add a destination, click Add destination (or Add place) and start typing a city or country — matching places appear in a dropdown, so you can pick “Paris, France” rather than guess the spelling. Two buttons live here too: View opens a clean, shareable read-out (see Sharing a trip), and Sync schedule builds day rows automatically from your flights, stays, and transport so you’re not creating each day by hand.
Below the header, a Trip readiness banner shows a percentage score for how complete the trip is and lists what’s left — missing dates, days with nothing planned, flights without a confirmation number, and so on. Each gap has a Fix link that jumps to the right tab. When the trip is fully ready, the banner collapses to a single all-set line.
How the trip is organized
Everything is organized into tabs, and each one has its own walkthrough:
| Tab | What’s there |
|---|---|
| Days | The day-by-day planner — activities, day notes, and per-day attachments |
| Logistics | Flights, stays, and transport, with confirmation codes and map links |
| Ideas | A wish-list of things you might do, ready to drop onto a day |
| Expenses | What you spend, who paid, splits, and Trip spending matched from your bank |
| Memories | Your hearted highlights and a photo grid — covered in Expenses & memories |
| Calendar | The trip’s own calendar view (it also shows on your main Calendar) |
| Library | Every file across the trip in one place — covered in Expenses & memories |
Don’t want to start from a blank page? Plan with AI drafts a full day-by-day plan you can keep, tweak, or delete.
On mobile and on the calendar
Trips appear on your main Calendar and in the trip’s own Calendar tab — including your booked flights, on web and mobile alike — and the whole planner is available in the mobile app, including Plan with AI (tap the ✨ sparkle in the trip header) and the Destinations card on the trip’s Overview tab, where you can add a destination (with the same place suggestions), tap one to edit its name and dates, or remove it. When a booked flight departs within the next seven days, it also appears in the Travel card on Orient. When you’re ready to show someone, see Sharing a trip. For watching flight prices before you book, see the Flight tracker.